
The Process of Creating Ceramics
Obviously, you can just take a piece of clay, fire it to a high temperature and you will have ceramics. But aesthetics and/or functionality should play a role too. So, I normally “shape” the clay. There are many ways to do this. You can press the clay into a mould or you can pour a liquid form of clay (slip) into a highly absorbent plaster mould. The water is then sucked out by the plaster and leaving a layer of clay covering the internal surfaces and taking its internal shape. Excess slip is then poured out of the mould and the newly moulded object removed. I prefer two techniques.
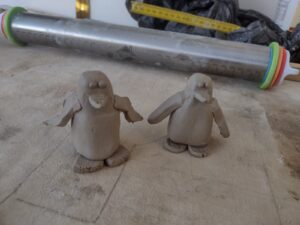
Hand-building
Hand-building just means that I use my hands and tools to form the clay. For examples, I can take a piece of clay and can use a pinching method to form a little bowl or cup. I can also roll out a sheet or slap of clay and then roll it up to form a tube. I can then use another slap to close one end of the tube up and, voila, have a vase. Another possibility is to take some clay and form whatever your like using any possible technique that comes to you mind. Remember play-doh?
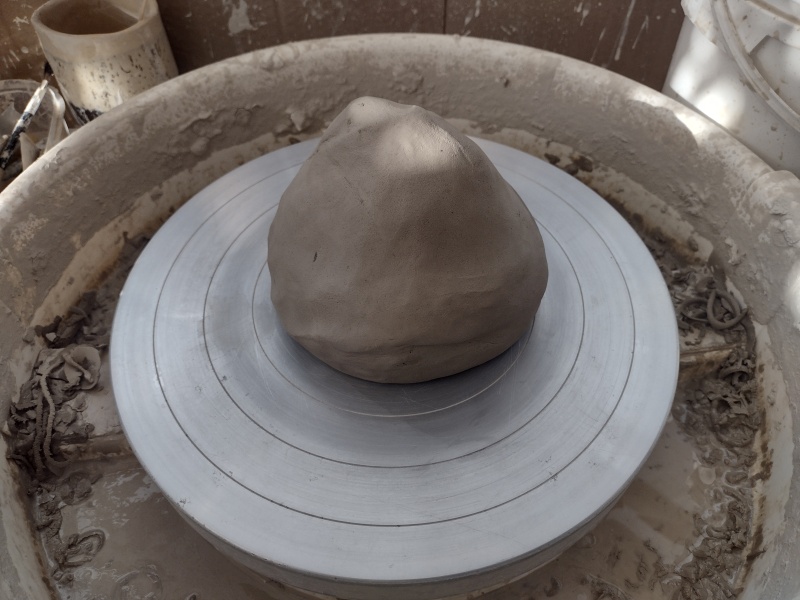
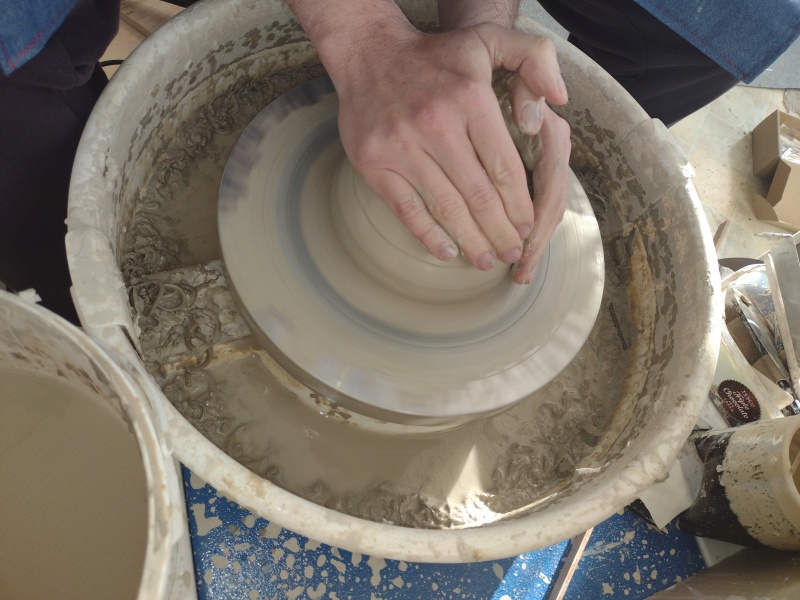
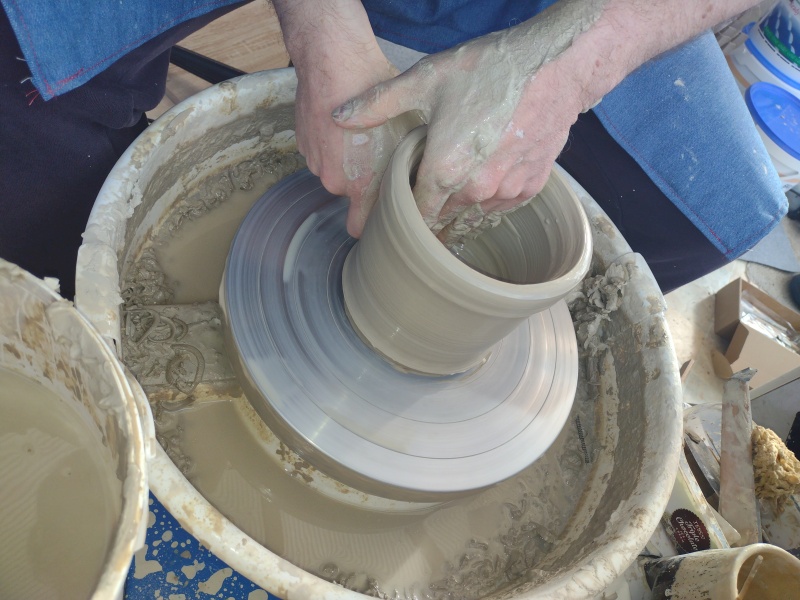
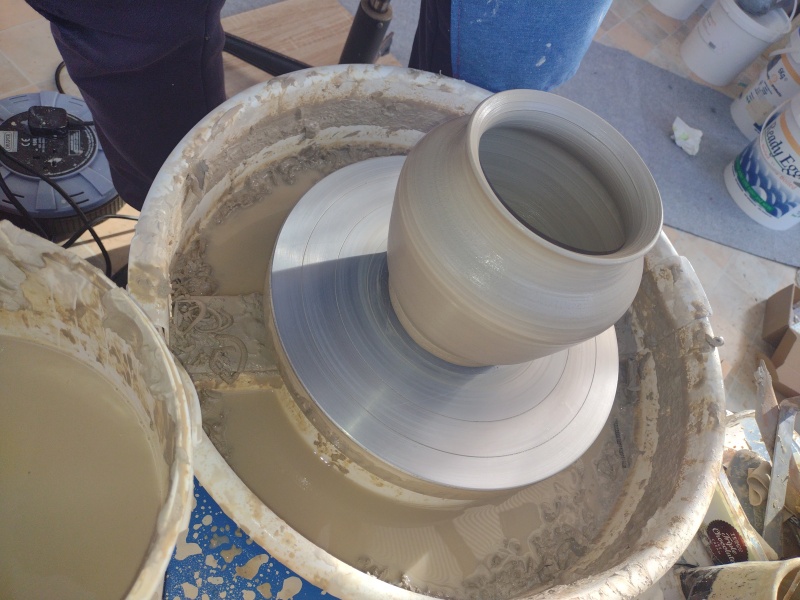
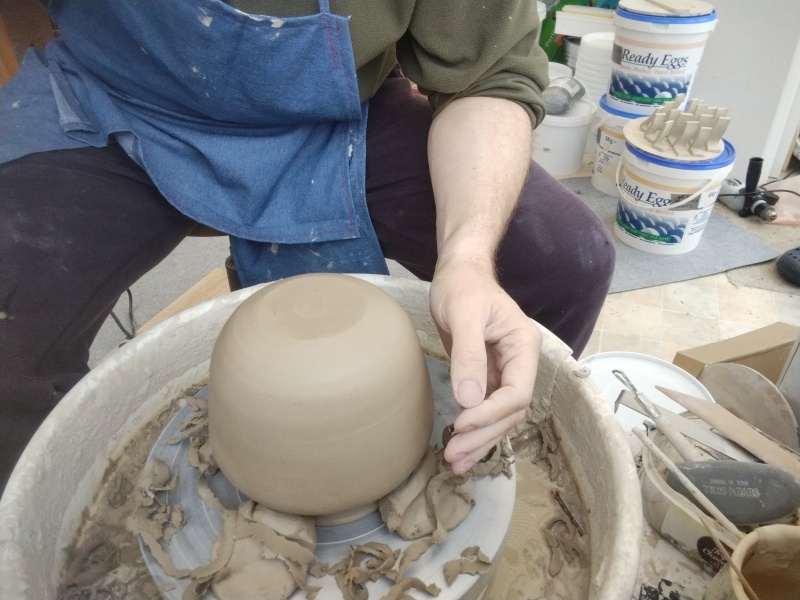
“Throwing”
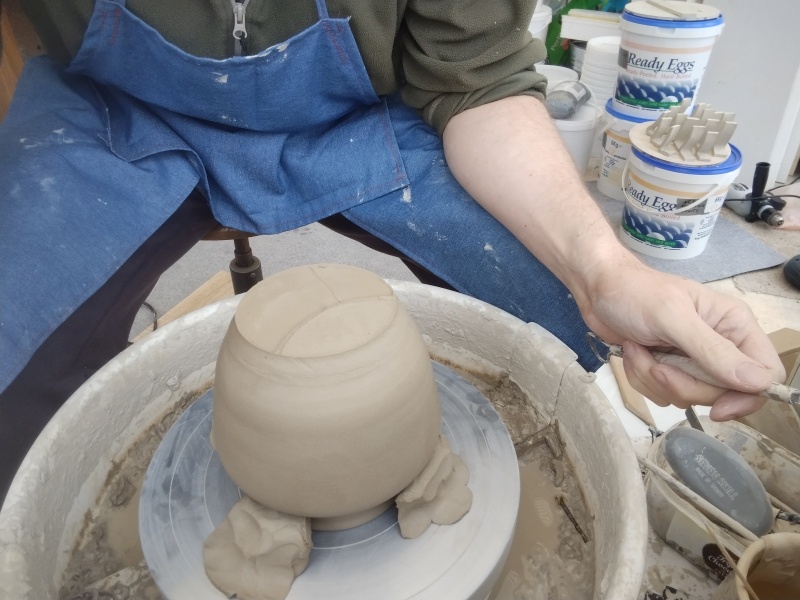
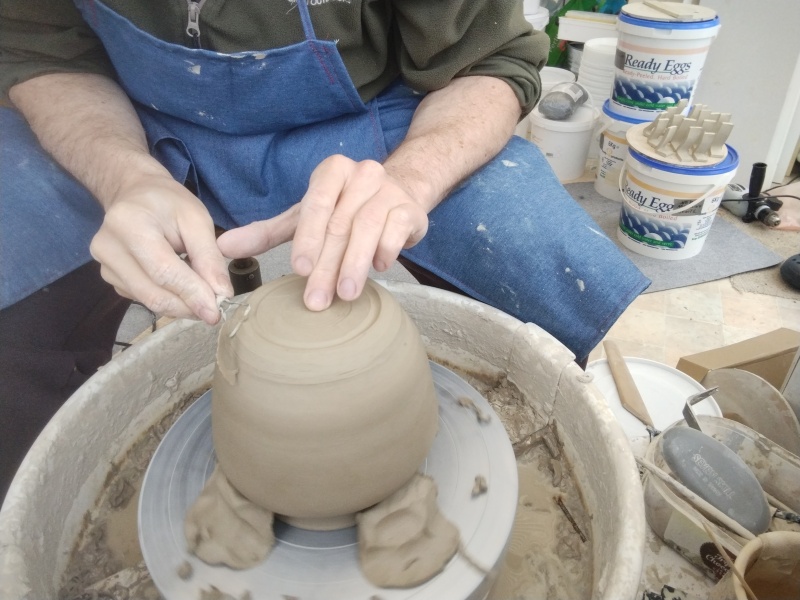
Here, I use the potter’s wheel. A place some clay in the middle of the wheel and while the wheel rotates, I squeeze and pull the clay upwards into a hollow cylinder shape. The amount of clay determines the size of the cylinder, which I then can push and squeeze into other shapes like a bowl or a vase. While this method limits me into creating something that has radial symmetry, it enables me to quickly “throw” some mugs. Throwing often involves some hand-building, when putting on a handle for example.
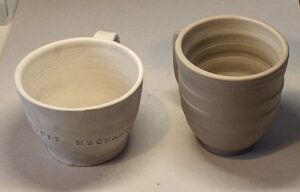
Unfired clay objects are called greenware and can be in different stages of water content: wet, damp, soft leather-hard, leather-hard, stiff leather-hard, dry, and bone dry. The colour of the clay usually changes from grey to white. Greenware often feels cold when touched until it becomes bone dry.
Trimming
Before the objects become dry, I can still manipulate them, but gets more and more difficult. I can handle the objects at the leather-hard stage without leaving finger prints, but I can still stamp something into the clay, glue something to it (like a handle) or cut pieces off. At this stage, I often put a piece back on the wheel and start to cut excess clay off. I can also cut a nice base into a bowl or mug.
The pots need to dry further as any water contained in the clay would evaporate during a firing and crack the clay. Therefore, I need to wait until the pots become bone-dry. The objects are very fragile in this stage. They are essentially only dry dirt pressed together…
Bisque fire
The next step is to transform the greenware in the bone-dry stage into ceramics. The bisque firing is started slowly by increasing the temperature by about 100°C per hour until all water molecules are evaporated. When the kiln reaches 500°C the temperature can be increased much more quickly to about 1000°C. All carbon deposits have burned out and the irreversible chemical process has turned clay into ceramics. The objects are not fragile anymore and give off a nice “clink” sound when you tap them. This type of ceramics is often called bisque ware.
Glazing
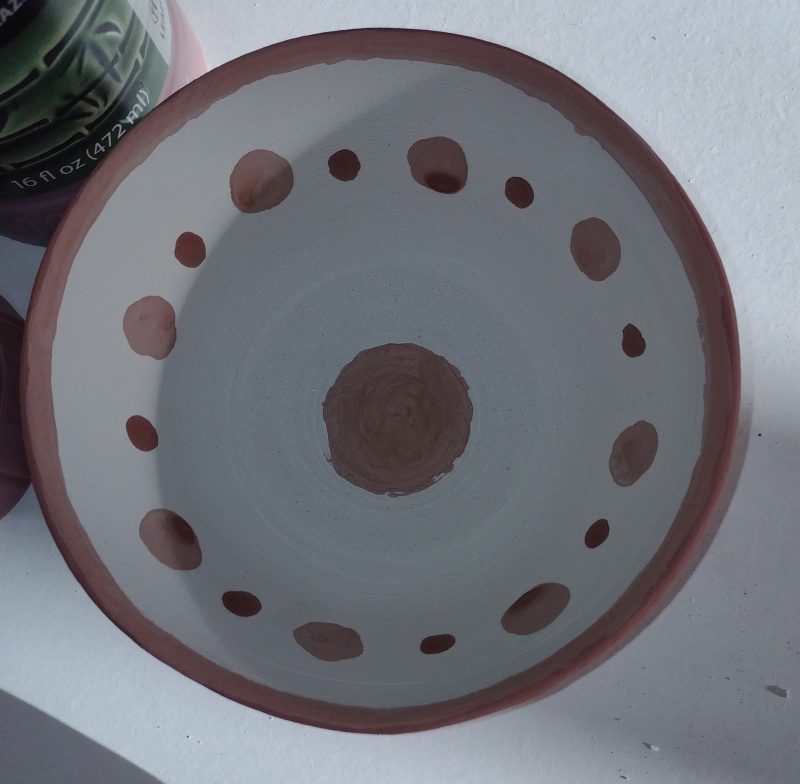
A glaze is made out a range of finely ground minerals mixed up with some water, painted onto the surface of the bisque ware and will create a glass like coating on the ceramics when fired to high temperatures again. Many clay bodies would leak water through and glazes can seal the clay, making the objects waterproof and food-safe. But glazes can also enhance an object on an aesthetic level creating colours and textures. The glazed objects are then loaded into the kiln and fired again.
Glaze firing
The glaze firing is relatively slow at the beginning to about 240°C and is then accelerated to a final temperature of over 1200°C. The final temperature depends on the clay I am using. At this temperature, the glaze melts and forms a protective glass like layer. This is the stage when the “kiln gods” have their biggest input. The glaze colours before and after the firing are not the same and some knowledge is necessary to create the effects that I am after. However, some times the same glaze on the same clay in the same firing turns out to be different. But this unpredictability makes this chemical process a bit magical.

How to care for your ceramics
All pieces are handcrafted ceramics and can break. All table- and domestic ware is food safe except when marked as being not food safe.
The exhibition pieces are usually not food safe if not explicitly marked otherwise.
All pieces are generally not microwave safe and not dishwasher safe.
Also this is very important to remember that sudden changes in temperature such as placing your item from freezer to oven are likely to cause thermal shock, which may result in cracks and breakages. Always place very hot items onto either wood or cloth.